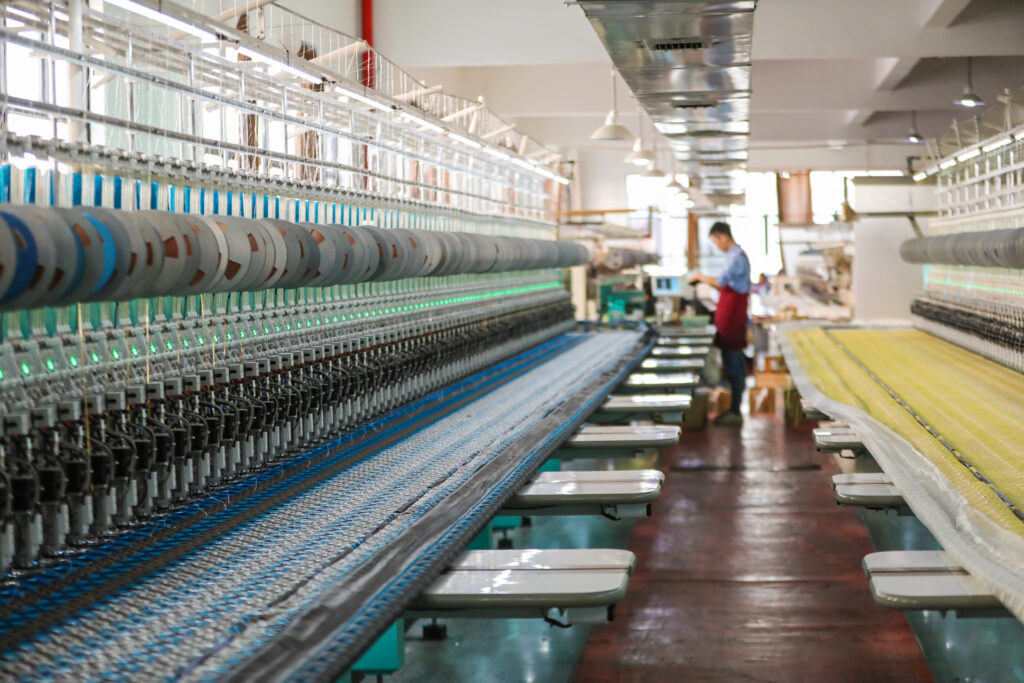
Core Case Study & Frequently Asked Questions (FAQ) Guide
During the development and production of embroidered fabrics, fashion designers and sourcing teams often encounter a common puzzle: Why do two embroidered fabrics with similar visual aesthetics and identical base cloth vary so drastically in processing costs?
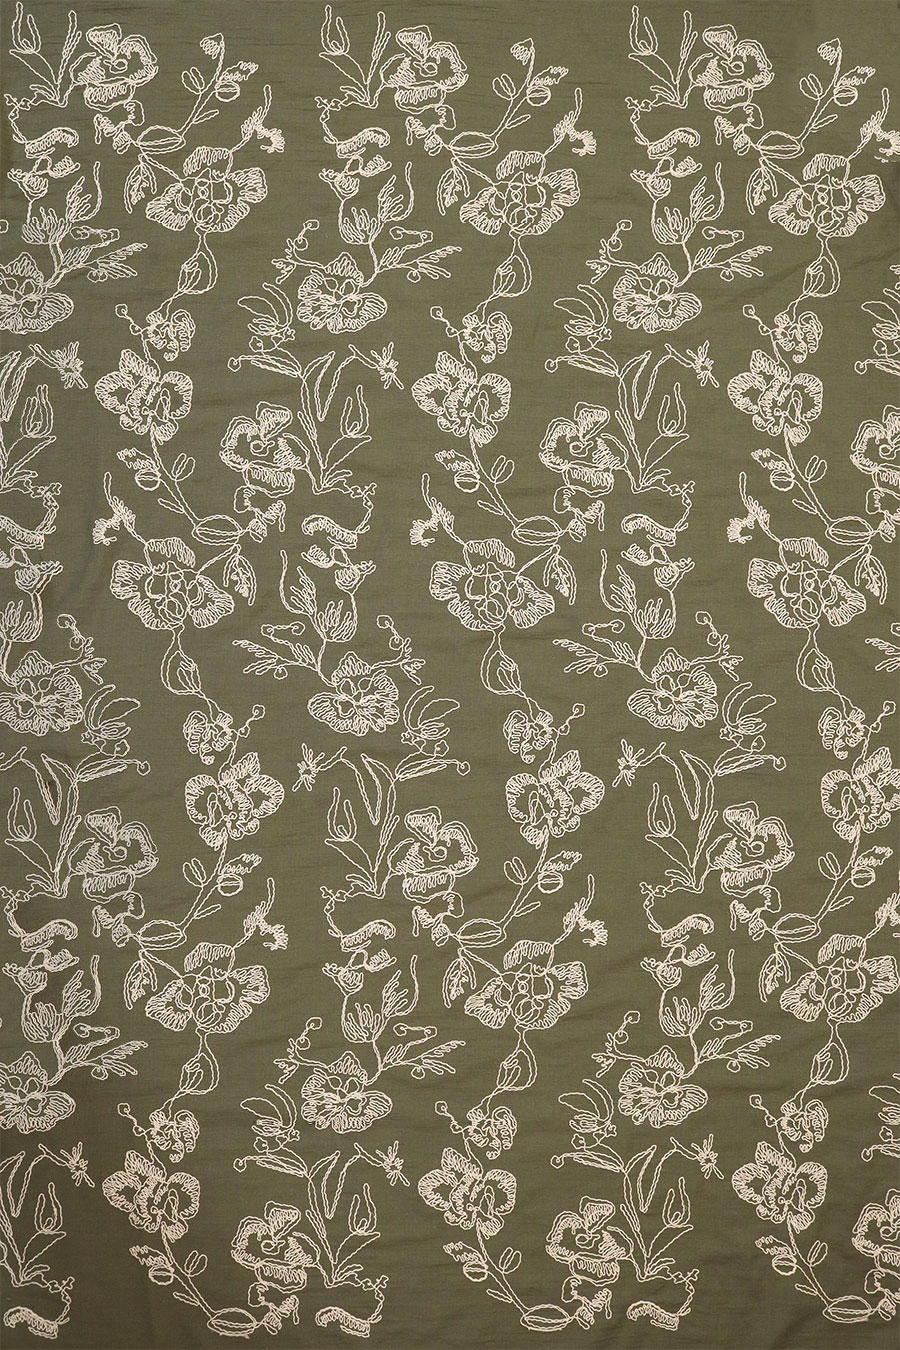
For instance, in our recent production analysis (using cording embroidery Item: NEW-C06xx1 as an example):
- Standard Design: Processing fee is $1.30/m (Repeat: 34cm, Cut Width: 128cm / 50″);
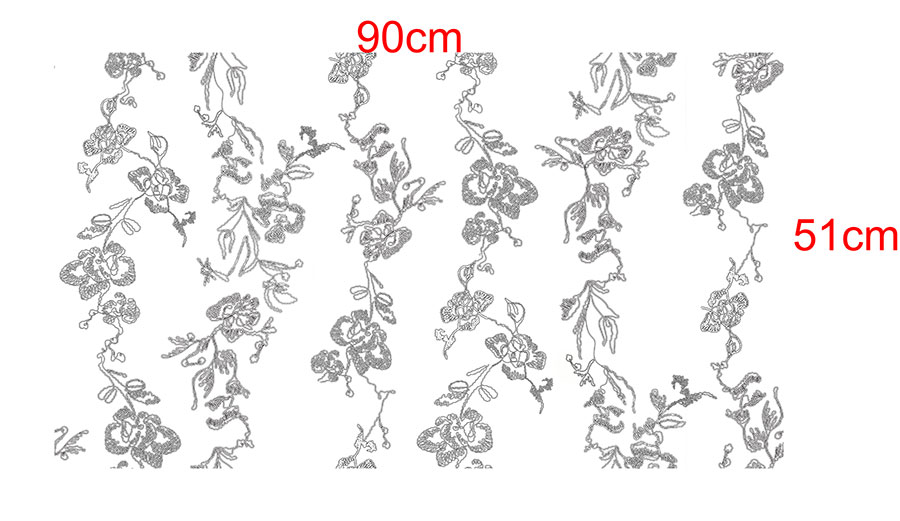
- Customized Design: Processing fee leaps to $3.60/m (Repeat: 90cm, Cut Width: 51cm / 20″).
As a professional embroidery fabric supplier, we break down the root causes behind this price gap from the perspectives of embroidery technique, machine capacity, and production efficiency.
Part 1: Case Study – 3 Core Factors Driving Embroidery Costs
1. Vertical Repeat Length vs. Machine Speed
Small Repeat (e.g., 34cm): The embroidery frame moves back and forth over a short distance. Multi-head computer embroidery machines can operate at high speeds, yielding maximum meter output per hour.
Ultra-Large Repeat (e.g., 90cm): The oversized pattern forces the frame to make long-distance travels and large stepping movements. To maintain stitch precision and prevent thread breakage, machine speeds must be reduced significantly, resulting in a dramatic drop in daily meter yield.
2. Cut Width vs. Equipment Capacity Utilization
Full-Width Utilization (e.g., 128cm / 50″): Perfectly matches the 50/51″ full fabric width, maximizing machine capacity and minimizing per-meter overhead costs.
Narrow Width Utilization (e.g., 51cm / 20″): When produced on standard full-width embroidery machines, a narrow effective width leaves a large portion of machine needles idle. Fixed machine depreciation and labor costs are squeezed into a smaller usable area, multiplying the per-meter processing cost.
3. Specialty Technique Complexity & Downtime Losses (Cording Example)
Long Repeats & Complex Paths: A 90cm repeat often entails complex, irregular curved paths. This not only increases digitizing/punching difficulty but also invites cord twisting, needle breakage, or misalignment during high-speed runs.
Efficiency Loss: Intricate layouts lead to frequent machine stoppages, requiring manual intervention and raising defect rates, which drastically lowers overall equipment effectiveness (OEE).
Part 2: FAQ — Frequently Asked Questions on Embroidery Fabric Costs
Q1: Why do embroidery processing fees vary so wildly for similar-looking designs?
Embroidery pricing is dictated by machine yield efficiency and capacity utilization, rather than visual appearance alone. Oversized vertical repeats (e.g., jumping from 34cm to 90cm) force machines to slow down significantly, while narrow usable widths (e.g., shrinking from 128cm to 51cm) leave machine heads idle, wasting capacity. When combined, these factors cause processing costs to surge exponentially.
Q2: Why are specialty techniques (Cording, Sequins, Taping) more expensive than flat embroidery?
Specialty embroidery costs more due to three key factors: first, specialized attachments like cording or sequin devices increase capital investment and depreciation; second, machine operating speeds are typically 30%–50% slower than standard flat embroidery; third, thick cords or specialty yarns are prone to jamming or snapping needles during intricate direction changes, reducing actual hourly output.
Q3: How does stitch count affect total fabric costs?
A core rule in embroidery pricing is “cost per thousand stitches.” For a given width and repeat, higher stitch density or heavily filled areas require more total stitches and longer machine run time per meter. Intricate, dense fill stitches will increase the processing cost linearly.
Q4: How can fashion designers balance aesthetics and production costs during the design phase?
Designers can optimize costs without sacrificing style by focusing on 3 key areas:
- Keep Vertical Repeats Optimal: Aim for repeat lengths within the machine’s high-efficiency zone (ideally between 30cm–45cm);
- Maximize Effective Width: Align pattern layouts with standard garment marker widths (e.g., 128cm–132cm) to minimize wasted selvage area;
- Smooth Specialty Paths: Avoid dense, sharp-angle turns or chaotic crossovers so specialty devices can glide at higher speeds.
Q5: What can be done if a design strictly requires a “large repeat + narrow width” layout?
If your brand’s aesthetic demands a unique layout, we recommend:
- Interlocking/Jigsaw Layouts: Re-engineer pattern arrangement during digitizing to interlock designs and maximize needle utilization;
- Hybrid Technique Substitution: Replace secondary specialty areas with flat embroidery or printed accents to maintain visual texture while restoring machine speed;
- Pre-Production Technical Consultations: Share your artwork with our engineering team before finalizing tech packs. We can calculate real-time machine yield across different layouts to help you find the sweet spot between design vision and target FOB price.